Creating Exploded Views
You can create exploded views of image data to reveal the interior of a sample. You should note that you can include exploded views in animated sequences, as well as generate high-resolution images with this visual effect (see Working with the Movie Maker and Exporting Screenshots). You can also export the image bricks of an exploded dataset as individual datasets.
Exploded view

The Explosion panel, shown below, is available for selected image data in the Data Properties and Settings panel.
Explosion panel

By default, datasets are clipped by their bounding box. You may have to remove the affected image data from the Clip effects when you create an exploded view, as shown below. See Clipping and Other Visual Effects for more information about clipping and other visual effects available for the Clip box.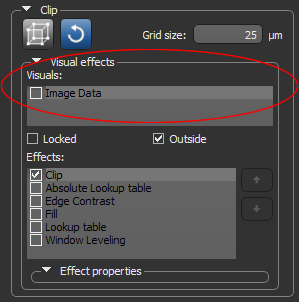
|
|
Description |
|---|---|
|
X Bricks |
Determines how many sections the selected image data will be divided into along the X axis. |
|
Y Bricks |
Determines how many sections the selected image data will be divided into along the Y axis. |
|
Z Bricks |
Determines how many sections the selected image data will be divided into along the Z axis. |
|
Distance |
Determines the distance between the bricks of exploded image data. |
|
|
Export… Exports each exploded brick as an individual dataset. You should note that the position in space of each exported brick will be calculated so that the constituent parts can be reassembled coherently. In the example below, the original image data that was exploded into four bricks was reassembled in a 3D and 2D view. Image bricks exported from the Explosion panel and then displayed in the same views
|
|
|
Reset… Resets all of the settings in the Explosion panel to their original values. |

- Display the required image data in a 3D view.
- Select the dataset in the Data Properties and Settings panel.
- Set the number of bricks for each axis in the Explosion panel, as required.
- Adjust the distance between the bricks with the Distance slider.